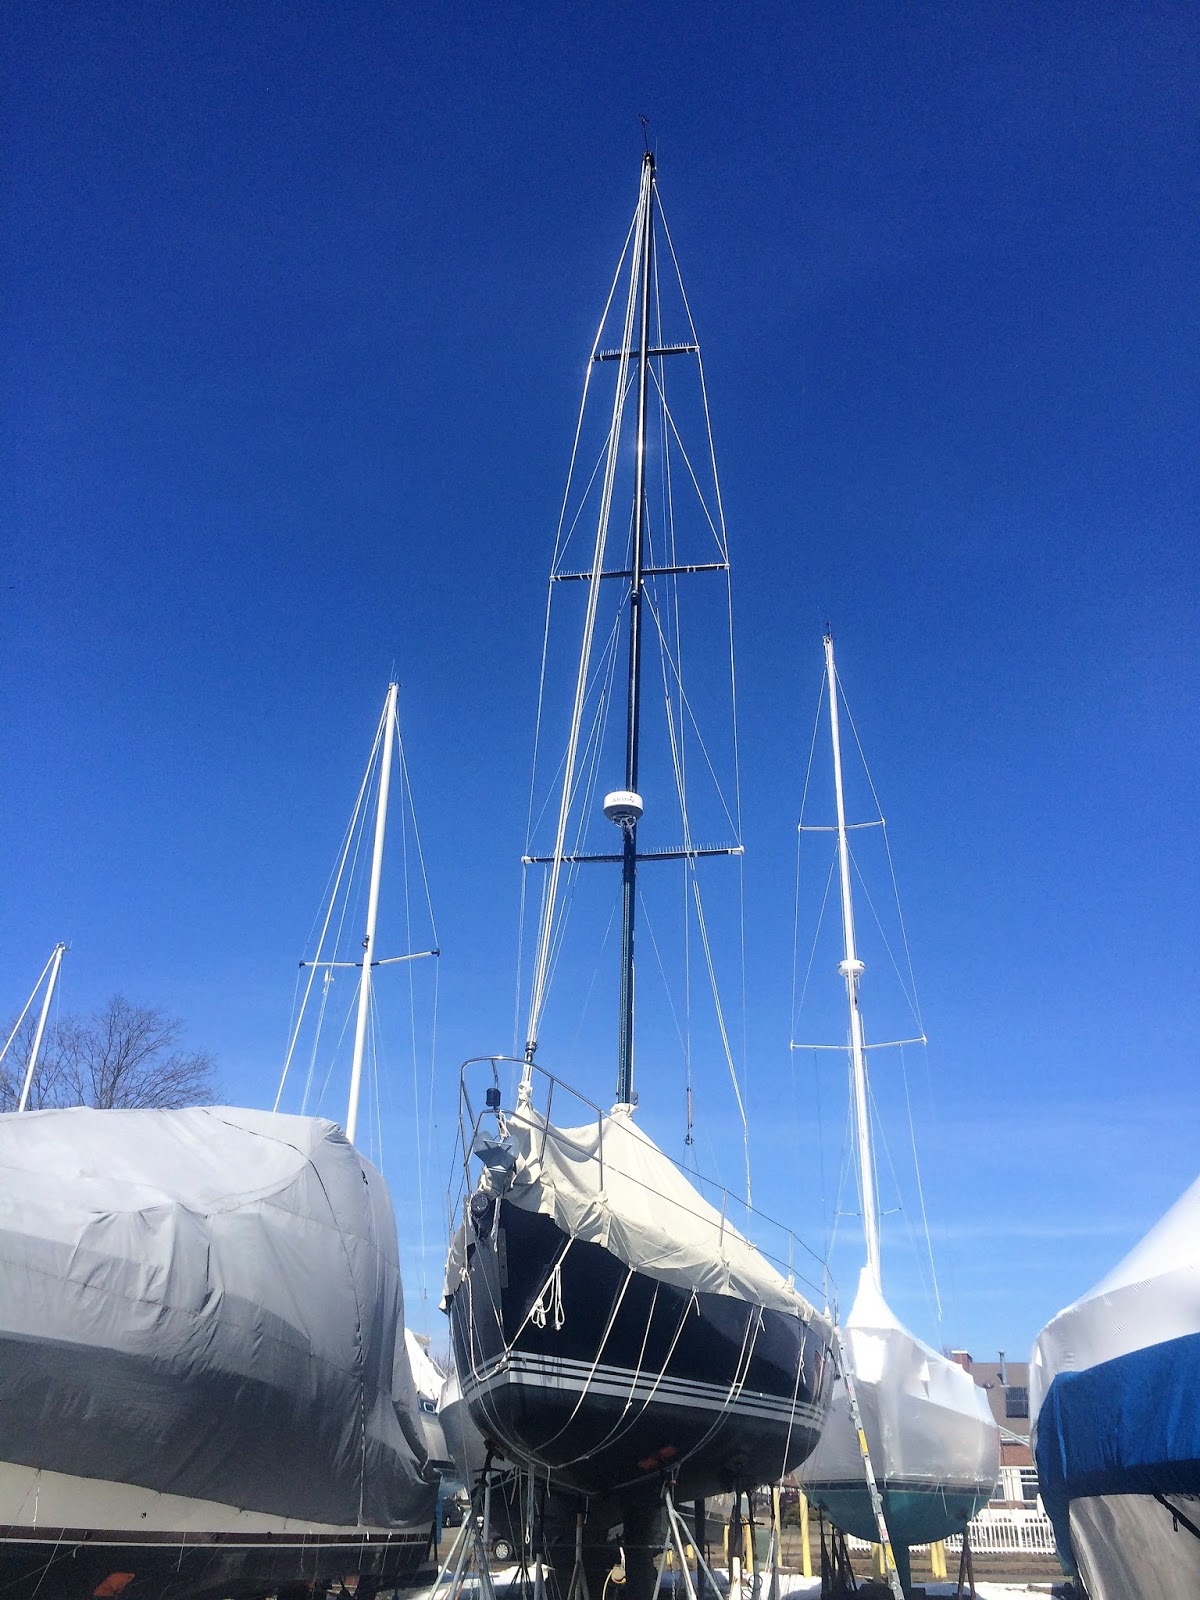
When I first saw pictures of the C&C 121 in 1999 I fell in love with it. After acquiring one in unreasonably rotten condition (as can be seen from the posts on this blog) I'm still in love with it and especially Calypso. Why?
Having sailed for over 60 years raced sailboats for over 55 years, I was and am particularly interested in the speed and sail handling characteristics of the boat, even though I had decided to not race the next boat, but to get into cruising. Since or maybe even before I was 8, when I first read Joshua Slocum'sSailing Around the world alone, I was interested in sailing hither and thither over the oceans; in other words, cruising. Actually my sister reminded me of this in a recent phone conversation.
Being 8, I decided that O'Day 23 to 25 would be ideal. By the time I was 12, my focus had changed to a Pearson Trident yawl --I liked the idea of having two masts. However, when I was 12 I had saved enough money through working as a paper boy, moving lawns, and saving my small allowance to buy a sailfish kit boat. I named it Wet Fanny. That started my racing career.
Fast forward 55 years. During that time I had raced and maintained a sailfish (low maintenance), sunfish (no maintenance really and for me, no repairs), a wood lightning (constant maintenance of a wood boat, a new mast for racing, new sails as often as I could afford them), an 0'Day 23 (constant maintenance of the wood--I any boat in saltwater takes four time the maintenance of a boat in fresh water), and a C&C 34, Starwood (with its wood trim requiring significant yearly maintenance).
However, I still considered Starwood for cruising. Since she was built in 1980, with 1980 vintage primary and secondary winches (for which it is increasingly difficult to get parts), a 1980 vintage engine, which worked exceptionally well, but which the yard said I should replace for cruising any distance, and many other items to replace or upgrade (i really would need an autopilot), I figured the total cost of all the replacements and upgrades would be two and one half times the maximum I could sell the boat for. Part of that is because I would want everything on the boat to be first class, which is the way I treated Starwood as a racing boat. And the boat was small for a coastal and/or blue water live aboard cruising boat. So I looked around for a new boat that would meet the following requirements in no particular order.
The Requirements
1. Big enough to cruise comfortably--I wanted a boat that 2 to 5 people could sail on for two weeks minimum without too many vehemently intense discussions.
.
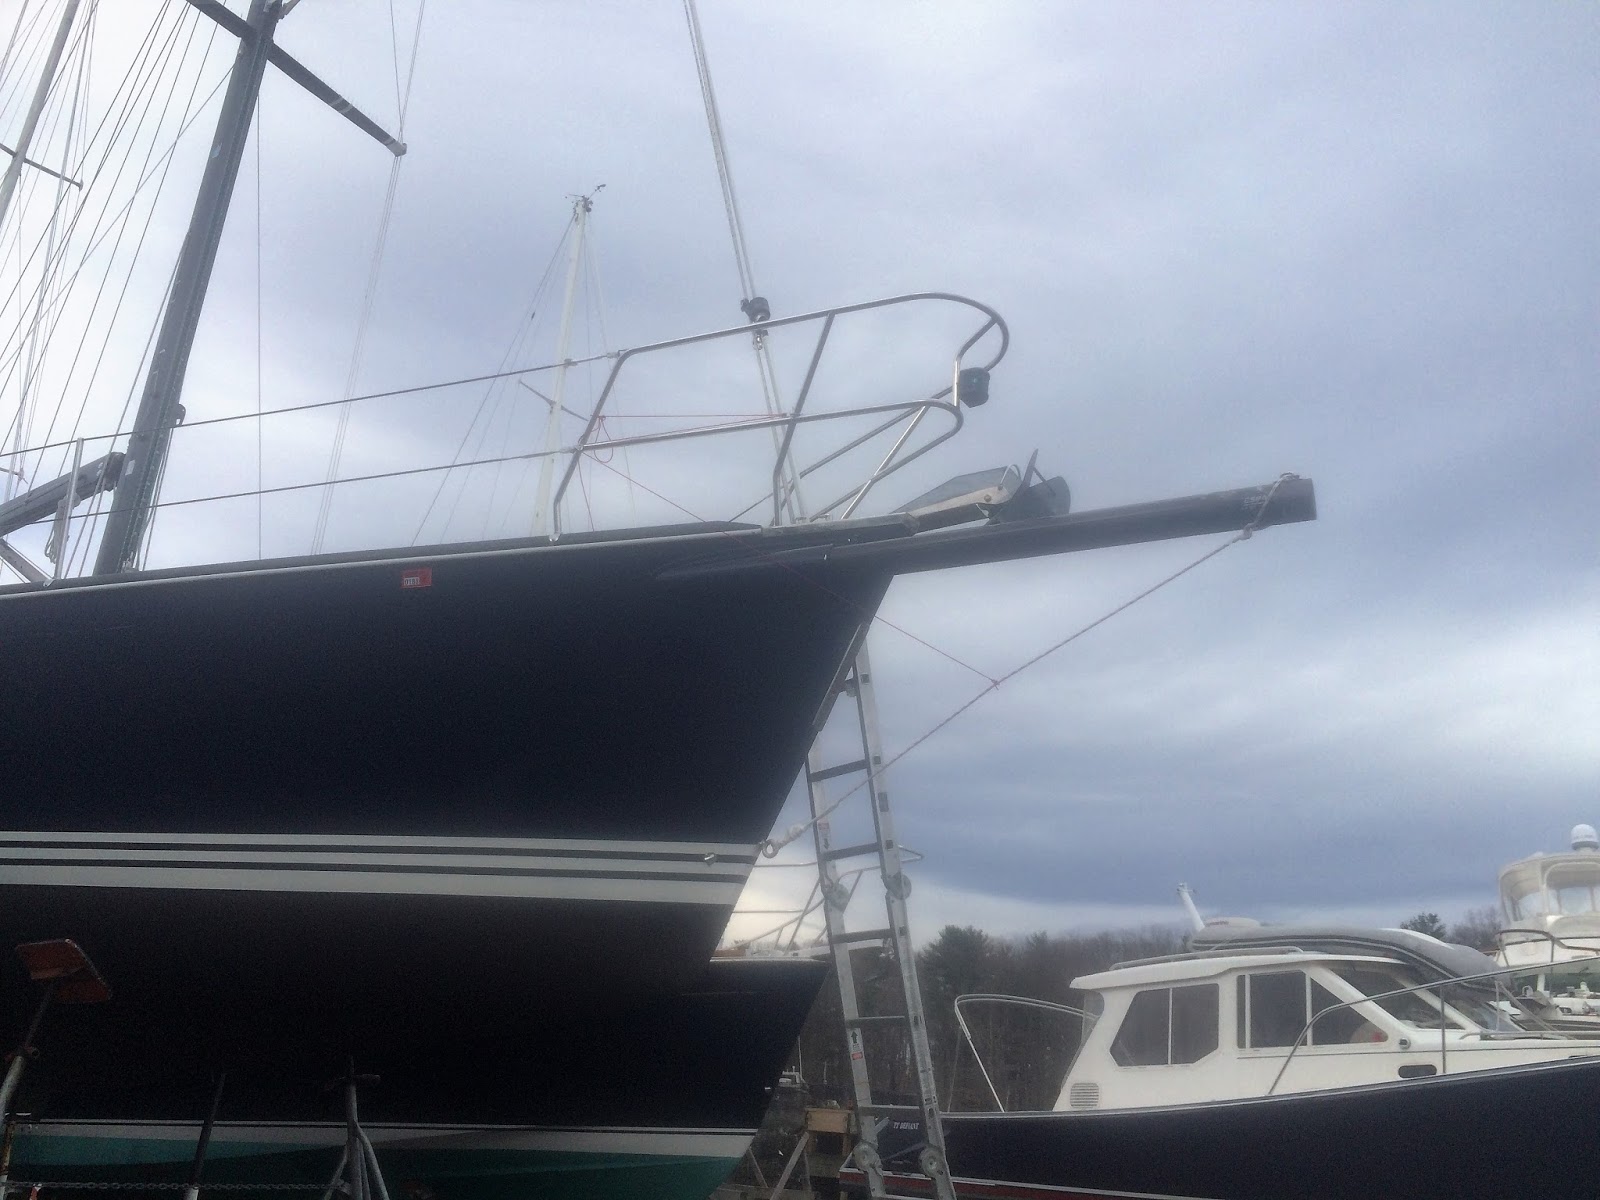
2. Easy to sail single handed--I should be able to handle all the sails from the cockpit. For me sails include the main (with 2 reefing points), a number 2 jib, and a code 1 spinnaker. For me being able to work a spinnaker single handed means that I needed a bowsprit, particularly a retractable bowsprit. The reason that I worked on getting both my code 0 and code 3 asymmetric spinnakers to roller furl on Starwood. I had previously tried out other methods, like a spinnaker sock, for dousing a chute and found it frustrating at best and frequently infuriating, and occasionally dangerous. I also found that on Starwood, when the roller furling worked properly it's simple. On Starwood, without a bowsprit, it frequently did not work properly.
3. No exterior wood--it looks beautiful but requires constant maintenance to look beautiful, and I want to sail the boat not constantly maintain it.
4. Fast--A slow deep hulled "seaworthy" boat is good if you like spending many nights going bumpity, bumpity, but I would rather get there and avoid the bumpity. In other words, I wanted a boat that could avoid, for the most part, serious storms at sea. And fast in light air.
5. Livable--I wanted some of the comforts while cruising. For example, Starwood was designed so the entire head would become a shower stall. Unfortunately it would still need a hot water heater and a shower head (other upgrades for cruising).
6. Maintainable mechanical and electrical systems--On Starwood, the mechanical systems were mainly under the deck and difficult to get to, especially the port side of the engine. And because others before me had changes electrical components and systems, the wiring was a mess.
7. Up-to-date and complete electronics--This is a very hard requirement to meet because electronics becomes completely obsolete within 3 years of the time its introduced. So, I decided to revise the requirement to a "must meet" of supporting the latest NMEA 2000 standard for interoperability of the electronics. This should include an autopilot both for safety when sailing along or with only one other and for convenience.
8. The ability to get from the deck into the water and back without a boarding ladder--I wanted a stern swim platform for three reasons, two dealing with safety. The first is that in case someone falls overboard they can climb onto the swim platform, then onto the deck. The second is that it aids in get off and back onto the boat from a dinghy. The third is that it will allow me to easily get into the water to clean the bottom of the boat, if and when i'm on an extended cruise.
9. Good refrigeration--This may be a sub-requirement of liveability, but having electric cooled refrigeration was important to me because when I sailed on even relatively short cruises on Starwood, and before that, it seemed I was always in search of ice. On an extended cruise there may be no ice houses floating around just waiting for me.
10. Self contained and sustaining electrical and water--For extended coastal or blue water cruising it seems to me that having a source of electricity on a boat, not based on burning of potentially expensive and heavy fuel was a must. So I gravitated to solar panels. With respect to water for long cruises, I think that a watermaker must be high on the list for two reasons. The first is safety, it's nice to have water if something untoward happens. The second is that its nice to be able a shower ever once in a while without counting drops.
11. Saildrive--I wanted the boat to have a sail drive because it greatly reduces the space needed for the engine and drive train, while not really increasing the drag on the boat.
12. Color--While I suppose any topside finish would do, I really liked the Awlgrip finish that I had the yard put on Starwood, a Flag Blue color. After fighting oxidation of the gelcoat on both the O'Day 23 and Starwood, (I would spend more than a month fighting polishing on the topsides of Starwood and it would look good for maybe a week at most), I had her refinished in Awlgrip. For the 10 years following, I could polish the topsides in at most, two days, and they would look sparkling for the summer. It is looks good for the new owner.
There may have been others, but these are the ones I remember.
The C&C 121 and the SV Calypso
As I said earlier, I had my eye on the C&C 121 since 1999. When I finally decided to replace Starwood, I looked on line for a C&C 121. After looking at three, each of which was fairly expensive and which came no where close to the boat I wanted, SV Calypso came up for sale. Theoretically, it meets all of the requirements, above or at least has space so they can be implemented.
However, as you can see from the last two winters of work (and some in the summer), the boat was in bad condition, far worse than I imagined, even taking into account, a deaf and blind surveyor working in the seller's interests. Still, with a lot of remediation of all of the systems, Calypso is beginning to meet the requirements.
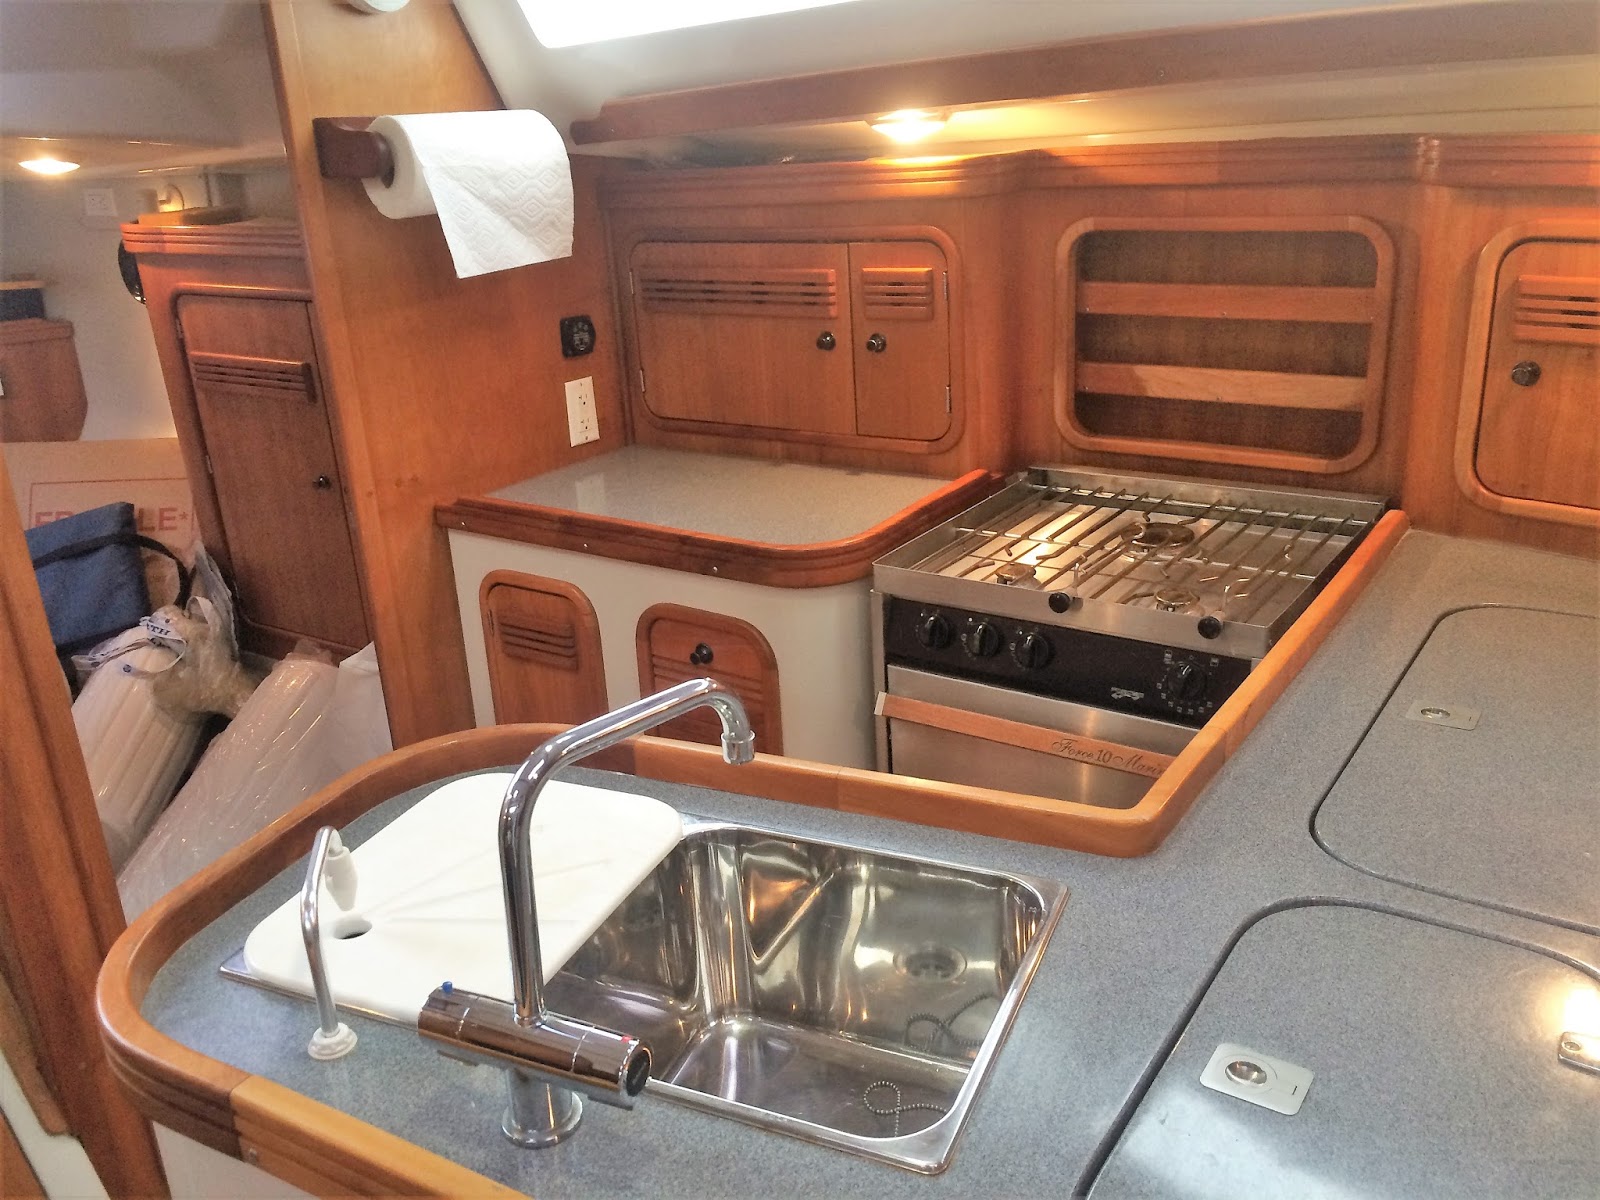
1. Cruise Comfortably-- Calypso has two cabins that can house two people and if necessary an insert that can turn one of the saloon setties into another bed. So it can serve 2 to 5 crew members. It has a head with a separate shower stall, and a reasonably equipped galley (including a microwave, which was not a requirement of mine but would most likely be now). Additionally, it has a TV and DVD player (which I would never have thought of for a boat) that I've been told is a nice thing to have on a cruise. Finally, the boat has tempur pedic style mattresses and air conditioning, neither of which I would have ordered if I had purchased the boat new, but now, after reading and watching Youtube videos I realize can may life on a cruise much more enjoyable and relaxing.
 |
| The forward Cabin |
 |
| The Galley |
2. Easy to sail--After racing 55+ years, the last 10 with a fairly complete sail inventory, I decided that my cruising boat would have a roller furling jib, roller furling spinnaker, and all of the control lines led to the cockpit. The C&C 121 was constructed with most of the control lines led aft to the cockpit through a tunnel under the deck. This means that the deck is clear of lines. The lines end up under the dodger in sets of line stoppers.
 |
| Starboard stoppers |
 |
| Port Stoppers |
There are still two lines that need to be run back, the tack reefing points. I will get this done by 2018, I hope this spring. Then all of the control lines will be ending in the cockpit.
3. No exterior wood--Given the issues I had with maintaining the exterior wood I had on my two previous boats, I'm very happy that this boat has none. Yes there is a lot of bright work to polish and wax, but I found myself doing that on Starwood.
4. Fast--From everything I could tell and everything I could read, the C&C 121 is fast. I didn't know how fast. It's very fast for a racer/cruiser. As I showed in the video on my Summer 2016 post, in 15 to 20 knots of wind, the boat was moving at close to 10 knots just with a 10 year old #2 jib up. And I know that on the first sail from Salem MA, where I acquired the boat that we made 75 miles in 9 hours, including 3 hours going through the Cape Cod Canal at 3.7 knots over ground under power and against the tide to Ascent Bay. Since the instruments weren't working properly the first day and since I didn't know much about the instruments, I'm really not sure how fast we were actually going. But the thing that has astonished me more is the speed of the boat in light air. The video below shows that we were making about 5 knots in a 6.5 wind (a wind that was off the water. So while this isn't nearly the speed of today's flat out racers, this more than fulfills my requirements, especially when you consider all of the weight in comforts and conveniences carried by Calypso.
Going 5 knots through the water in a 6.6 knot breeze
(Nice to have a clean bottom)
5. Livable--I suspect that you can see from my description that it's easy to see that the C&C 121's interior has been designed for being able to live aboard for extended periods. For a boat of its size, the designers and engineers did an excellent job. There is a shower stall in the head with pressurized water, factory installed air conditioning that I can use in a marina, and so on. So the C&C 121 and Calypso is quite livable.
6. Maintainable mechanical and electrical systems--As I stated earlier getting to and working on the mechanical and electrical systems on the O'Day and Starwood was difficult for me. I'm not really good at "fixing" things because of my lack of both small and large motor coordination. But, on both boats the systems, such as they were, were buried in places only a contortionist could reach most of the time. Those were good places for them until I had to try to work on them. Even the coordinated friends I had help me (thanks all) had problems. However, in so far as possible on a boat of its size, the C&C 121 is well designed for maintaining the mechanical and electrical systems.
7. Up-to-date and complete electronics--This really isn't a requirement, its wishful thinking as I've found out many times in the past. By the time you get the latest and greatest, the electronics industry has made it obsolete. Fortunately on the Calypso, the instrumentation had been updated in 2012 to the NMEA 2000 standard. This should mean that for the foreseeable future, I should be able to update the electronics as necessary and as I can afford it.
8. The ability to get from the deck into the water and back without a boarding ladder--The C&C 121 was constructed with a retractable swim platform. This would fulfill this requirement except that the actuator mechanism seems to be a weak point of the design. All four of the boats I looked at had problems with the actuator. From the previous posts you can get an idea of the problems I've had in getting it repaired and working again. I'm still working with the yard to get ameliorate the problem of saltwater getting into the mechanism.
9. Good refrigeration--The C&C 121 was designed with a refrigerator of good size, at least when compared with the icebox on the C&C 34 (another thing that I would have had to add for long distance cruising is the refrigeration mechanism). As you can see reading some of my previous posts, the actual refrigeration unit on Calypso was worn out and malfunctioning. Now that i've replaced it, it should be good as long as I have the boat.
10. Self contained and sustaining electrical and water--The C&C 121 was designed and constructed before the advent of price competitive solar panels or relatively small, but efficient watermakers. Additionally, the available amp hours from the batteries onboard is relatively small. So I may need to upgrade that. With respect to a watermaker, right now there is some disagreement on whether a watermaker is required. Since I still have time to decide, I haven't made a decision; partially from procrastinating and partially because watermaker technology is changing. So it makes sense to wait.
11. Saildrive--The C&C 121 was design and constructed from the get-go using a saildrive. And so far, I really, really like it.
12. Color--While Calypso has an Awlgrip finish (and in Flag Blue), the boat has been nicked, banged and scraped to the point that it needs to be refinished (additionally there are some tiny cracks in the topsides that need some work before they get worse).
Overall, for me, my budget, and my requirements, the C&C 121 is a spectacularly good design and Calypso has more than I thought I wanted in a boat of its size.