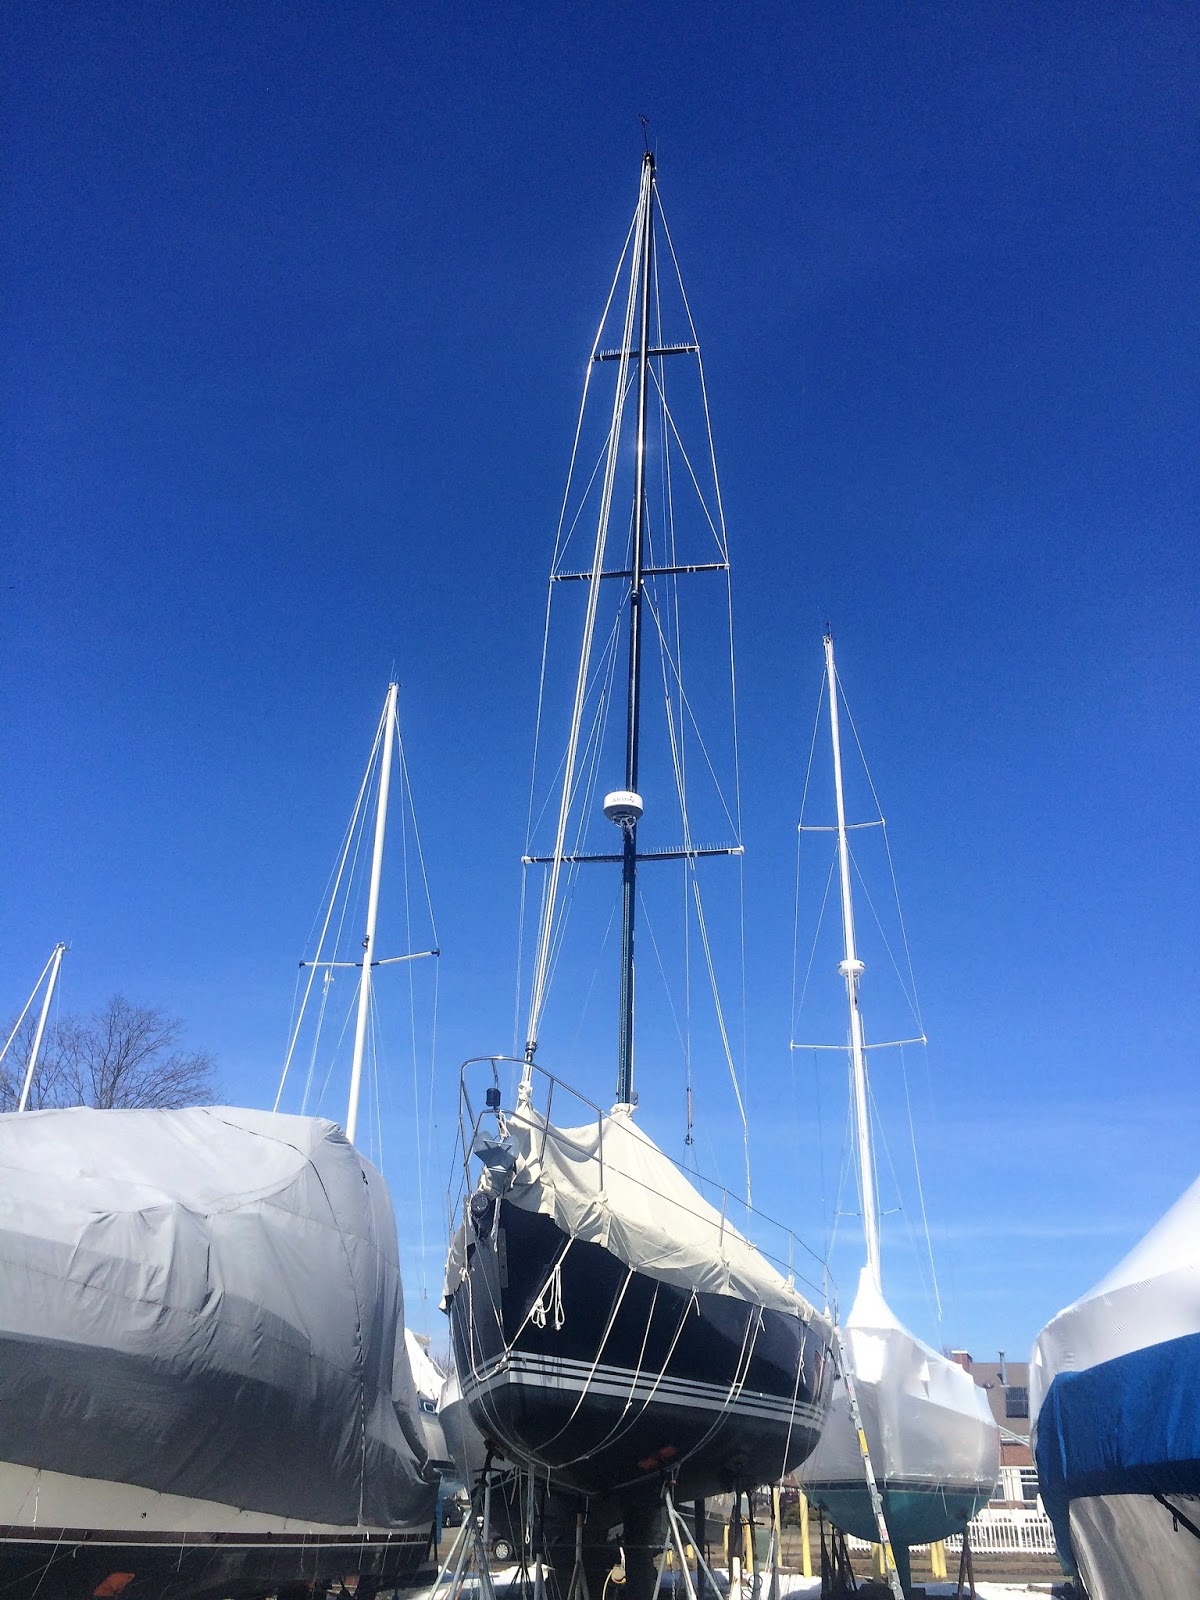
Spring 2017 is Here
Removed the winter cover
 |
| Before |
 |
| After |
Prop Problem/Sail drive Problems
I had to have the yard maintain/repair the prop. Notice that in the before picture the mechanic for the previous owner replaced two of the stainless steel bolts holding the prop together with non-standard bolts that rusted. Given that there was water in the sail drive oil in both 2014 and 2015 and that the mechanic found that the lower sail drive unit was improperly installed, it would seem that the previous owner of the boat had the boat serviced at a lousy yard. But that is evident from the number of other maintenance and repair problems that I've found.
 |
| Prop before |
 |
| Prop After |
Now the prop and the bottom are ready for the summer
 |
| Compare this to the sail drive picture in Winter 2016-2017 |
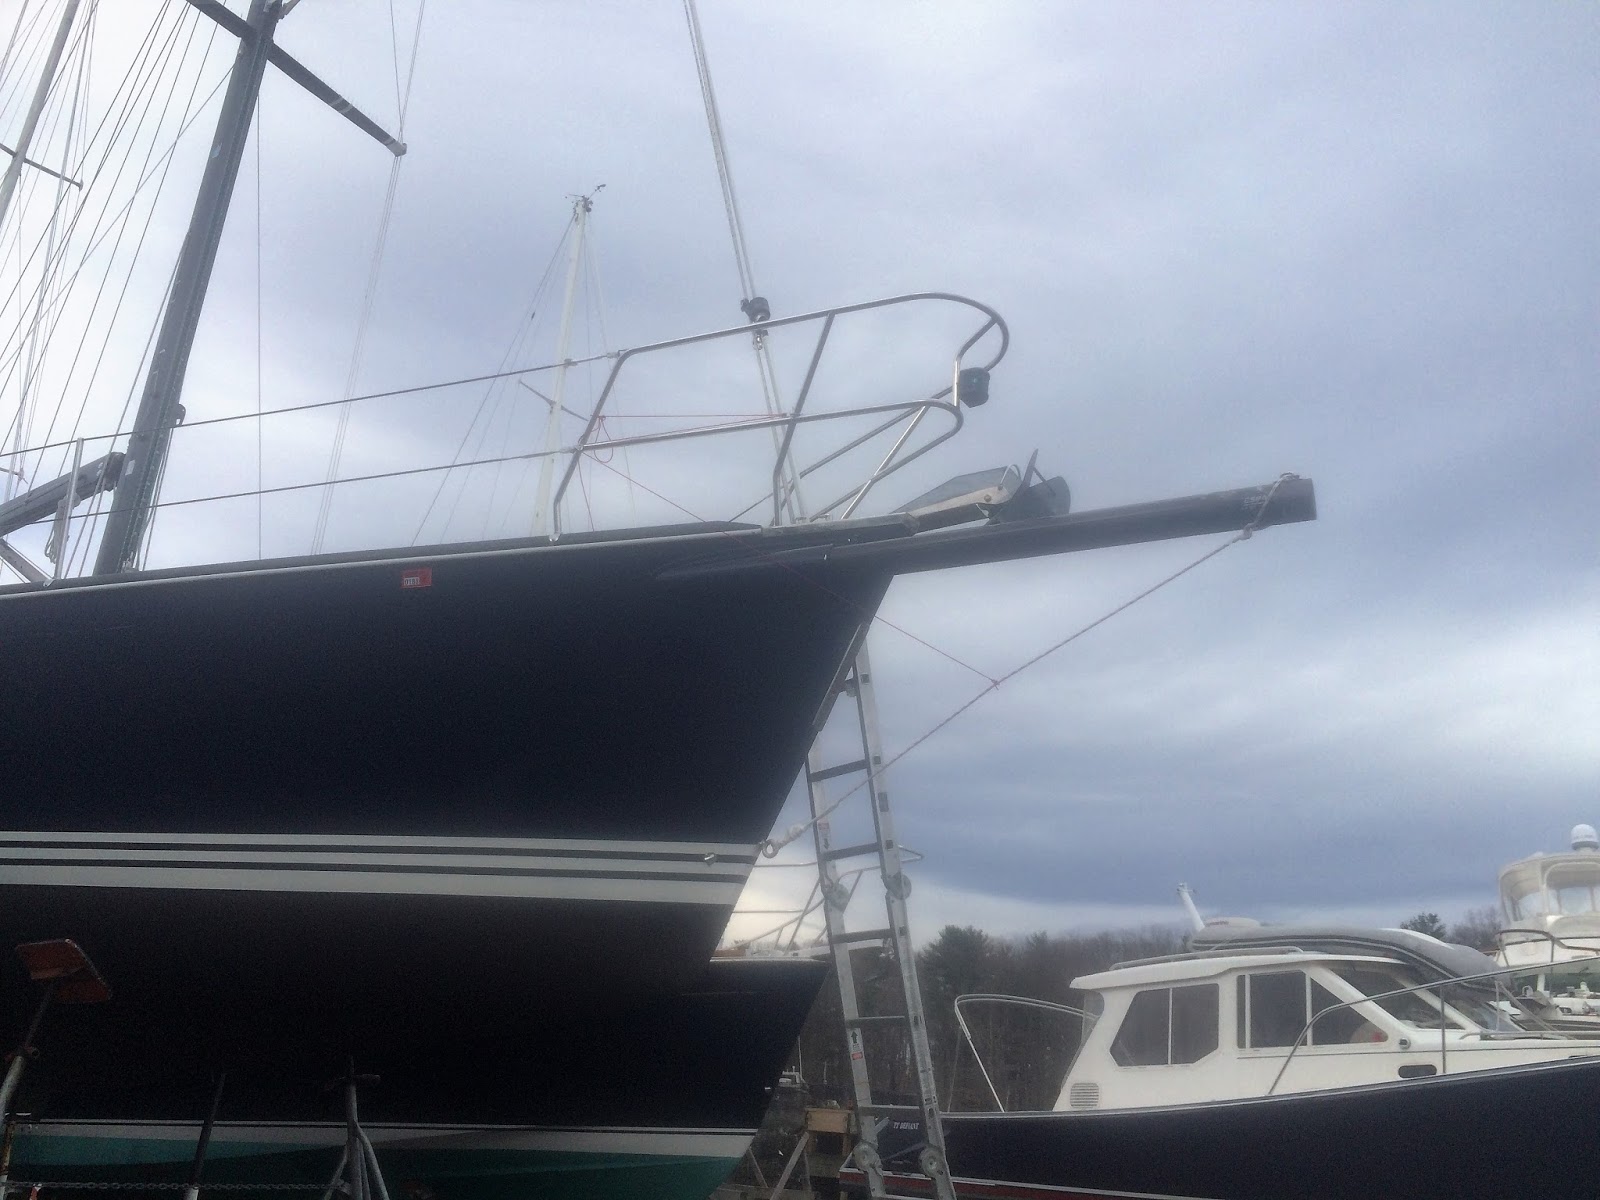
Retractable Bowsprit
I'm still reengineering the retractable bowsprit for the spinnaker roller furling. I wanted the furling mechanism for two reasons. First, is safety. It's much safer to furl the sail from the cockpit than it is on deck. If the sail needs to be furled quickly, it means that it is less than safe to have someone on the foredeck, in general. Second, my experience has demonstrated that dropping the sail requires more than two crew members or more just getting the spinnaker down quickly (and bringing a spinnaker down slowly is never a good idea unless it is dead calm.
In order to have the spinnaker furl properly the line that it twists around must be as tight as a G-string on a violin--i.e., very, very tight. Unfortunately, we found, as so many others have, that when you get the line tight enough to furl, the retractable bowsprit deflect upperward at least 6 inches. And that means the line is not tight enough. Rather than finding out if I could get the line tight or if the bowsprit would break first, the sailmaker recommended that I install a bobstay. This I did during the winter of 2015 to 2016.
 |
| The Retractable Bowsprit and Bobstay |
 |
| The Retractable bowsprit and Bobstay--Retracted |
I found that during the summer of 2016, the sail occasionally furled properly, but many times didn't; so that the head and upper leach would blow in the wind. The reason is that adjusting the length of the bobstay is difficult to determine because its difficult to get all of the lines adjusted the same way each time.
And then there is the added problem of making sure the bobstay stays out of the water when the bowsprit is in the retracted position. I solved this problem with a very long bungee cord as shown in the second picture.
Interior Work
The companionway and steps were/are in miserable condition. However, the cherry underneath the coating was in good condition. Unfortunately, some areas of the companionway are not even coated; the companionway was treated so badly. So I've started to refinish it. I will complete it next winter.
 |
| One wall of the Companionway as I was stripping the varnish |
As shown above, I first used a chemical stripper to get the old, sun yellowed varnish off; it was the color of the yellowed panel on the lower left. This is a nasty job, but I needed to do it this way because sanding veneer is a good way to eliminate the veneer (and the walls are cherry veneer). I then lightly sanded it will 100 grit sandpaper, cleaned it with a tack rag and coated it with an approximate 1 to 2 mixture of thinner and varnish. This open the wood pours and allowed the first coat to soak in a seal the wood.
 |
| After the first couple coats of Varnish |
At the time this second picture was taken after I had sanded the first coat with 150 grit sand paper, removed the dusk, and applied a second coat. I will be using 220 grit on the next 4 to 6 coats.


Now that the first wall is completed, the before and after colors show as in the before (blond pecan color) and after (cherry). I will need to complete the rest next fall.
 |
| Before and After of the Companion Way |
As is shown in this before and after picture, the woodwork of the companion way was both beat up and faded. So there is still much more work to do. Now, however, most of the rest of the interior is up to "good enough" as shown in the following pictures
 |
| Main Salon looking forward |
 |
| Main Saloon looking aft across the Galley to the Aft Cabin |
 |
| The Nav Station Looking toward the Head |
 |
| The Forward Cabin |
 |
| The Aft Cabin |
 |
| The Head |
One great thing was added to the decor of the aft cabin was a quilt made from many of my old but favorite tee shirts by my sister.
 |
| The Tee Shirt Quilt |
Solar Panels
Since I've decided to get the boat ready for real blue water sailing, I know I have create a grid for the boat so that I can keep in touch with the world, even if I can't grab on hard, like I'm doing now. And to use the electronics and other technology in the boat I will need electrical power.
You may or may have noticed that in the maintenance sections of many of the previous posts on this blog, much of the work was in terms of repairs or upgrades of systems existing on the boat when I acquired it. This is really the first new sub-system I've added.
 |
| The Wiring for the Solar Panel on the Dodger |
 |
| The Wiring for the Solar Panels on the Bimini |
Since the utility closet is located on the starboard side aft, the simplest way to run the wire for the panels was down through the starboard deck, as shown above. While, in theory this sounded good, Cliff, the electrician, found running the wires difficult; but he did it.
The next step was to install the charge controllers for the Dodger and Bimini panels, as shown below.
 |
| The two Victron Charge Controllers and the Bluetooth Dongles |
After he connected them to the batteries, it was time to reinstall the hard dodger with a single panel and the bimini with two panels. The canvas company that I contracted to attach the solar panel brought the dodger to Milford CT where I was in the process of commissioning the boat. The following picture shows the dodger just after it was reinstalled.
 |
| Overview of the Dodger with a Solar Panel |
As initially installed the solar panel on the dodger had two problems. The first problem was cosmetic, the wiring showed. This can be seen in the photo above. The photo below shows the panel after the electrician hooked up the 120 watt panel to the charge controller, as shown below with the wiring nicely seated but still showing.
 |
| The Wiring for the dodger Solar Panel |
The second problem was much more substantive. The zippers holding the panel in place were attached to the dodger by screws. Unfortunately, as initially installed the end screw was 4" or more in from the end of the zipper as shown below.
 |
| The Problem with the Zipper attachment to the Dodger |
The Canvas company has since resolved this second problem by adding tab that have additional screws as shown in the following picture.
 |
| The tabs holding the Solar Panel in Place |
The canvas company has also promised covers for the wiring.
However, the canvas company did not reinstall the bimini until the boat was back in Mount Sinai Harbor. So two friends of mine, Jim Murphy and Alex Snedden set sail to bring the SV Calypso back.
 |
| Ready To Cast Off from Milford CT |
After getting her back, in zero to moderate wind--in about 3.5 hours--the boat was ready to have the bimini reinstalled. That seemed to take longer than necessary. But its done.
 |
| The New Canvas with the Solar Panels Installed |
The Canvas Company did a very good job on the installation of the two 140 watt panels on the bimini and with the addition of the tabs, the panel on the dodger seems secure. And with the help of Alex, doing the majority of the work, we were able to attach the both bimini panels, in parallel to the larger charge controller.
 |
| One of the Aft Panels |
The canvas company did a good job of constructing the bimini in such a way that the wiring is internal to the bimini. And by running the wiring through the tubing, not much wiring shows. Now, I'm ready to start testing this 400 watt system to see how many amp hours it really can produce. More about that in my next post.


No comments:
Post a Comment